July 17, 2026 · OverlayCraft Atelier
How to Add an Overlay to OBS (in Under 5 Minutes)
Image source or media source? Loop on or off? Here's the exact 5-minute setup for static and animated overlays in OBS Studio - plus the three mistakes that make overlays look broken.
The short answer
Static overlay: add an Image source. Animated overlay: add a Media Source, point it at your MP4 or WebM file, and tick Loop. Drag it above your gameplay in the Sources list. That's genuinely the whole trick - everything below is the detail that makes it look right.
Step-by-step: adding an animated overlay to OBS
- Open OBS Studio and select the scene you want the overlay on (or make a new one - Scenes panel, bottom left, + button).
- In the Sources panel, click + and choose Media Source. Name it something you'll recognize, like "Starting Soon screen".
- Click Browse and select your overlay's video file - MP4 or WebM. Every OverlayCraft pack ships these ready to go, with a real preview video on each product page.
- Tick Loop. This is the one people miss: without it, your animation plays once and freezes.
- Click OK. Drag the red handles to fill the canvas - a proper overlay is made at 1920×1080, so it should snap edge to edge with no stretching.
- In the Sources list, drag the overlay above your game or camera source. Sources render top-down: whatever is higher in the list draws on top.
Static overlays: use an Image source instead
For PNG frames, panels, or a static scene, the steps are the same but you pick Image instead of Media Source. PNGs keep their transparency, so your webcam frame will show the camera through the cutout automatically - as long as the frame sits above the camera in the Sources list.
Layer order: the mental model
Think of your scene as a stack of paper. Bottom sheet: game capture or camera. Middle: facecam frame, in-game overlay. Top: alerts, since you never want a follower alert hiding behind your gameplay.
- Alerts - top
- Webcam frame - above the camera
- Camera - below its frame
- In-game overlay - above game capture
- Game capture - bottom
The three mistakes that make overlays look broken
- No loop: the animation plays once and sits frozen for the rest of your stream. Tick Loop in the Media Source properties.
- Stretched to the wrong ratio: right-click the source → Transform → Fit to screen. Overlays are 16:9; forcing them into a stretched canvas warps every line.
- Black background where transparency should be: your file is an MP4 without alpha. Use the WebM version from your pack for transparent elements, or place the MP4 as a full-screen scene instead.
Does an animated overlay slow down my stream?
Not meaningfully. A looping media source is one of the cheapest things OBS renders - far lighter than a browser source running a web page. If your machine can run your game plus OBS, a 15-second loop won't be the thing that hurts you. Every cozy overlay pack and gothic pack is exported at streaming-friendly bitrates so it never shows up in your CPU graph.
Watch It in Action
Real animated packs from the VectorKingStudio channel - see the motion before you decide.
Animated Cozy Night Gaming Room Stream Package in action
FAQ
WebM for anything that needs transparency (frames, alerts), MP4 for full-screen animated scenes, PNG for static graphics. WebM files are small, support alpha channels, and loop cleanly in OBS.
Gear up
Packs From This Guide
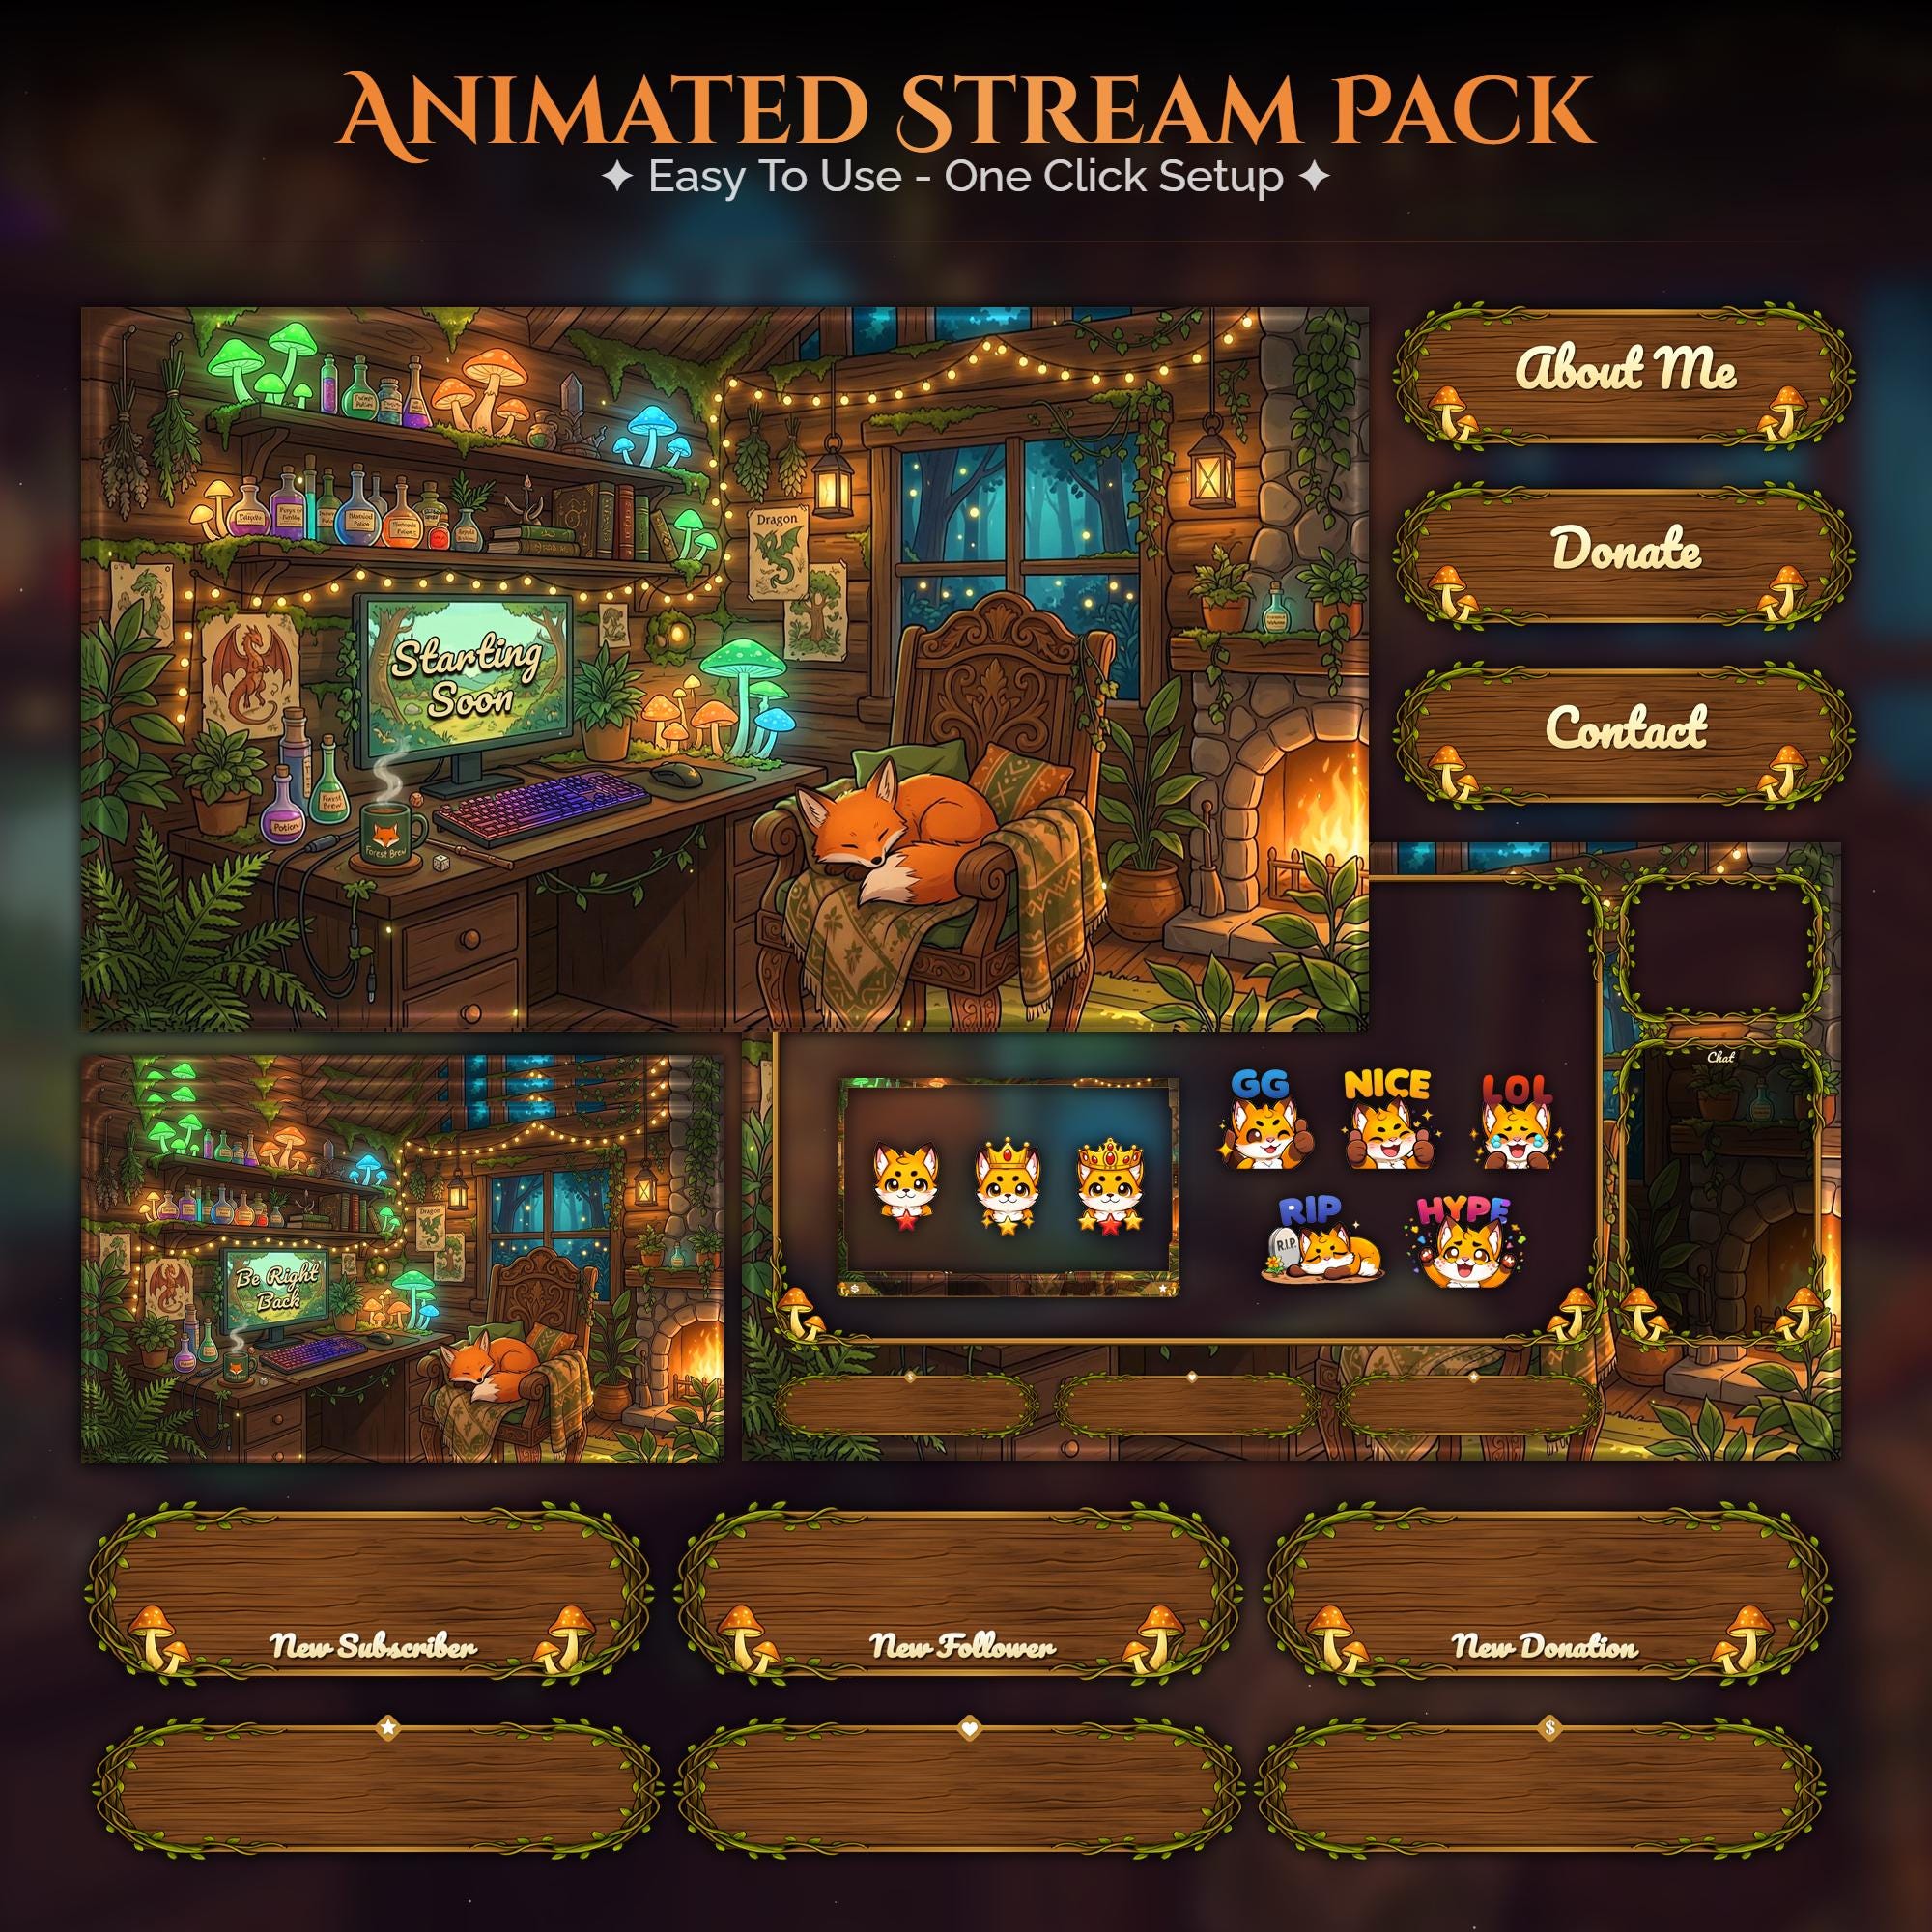
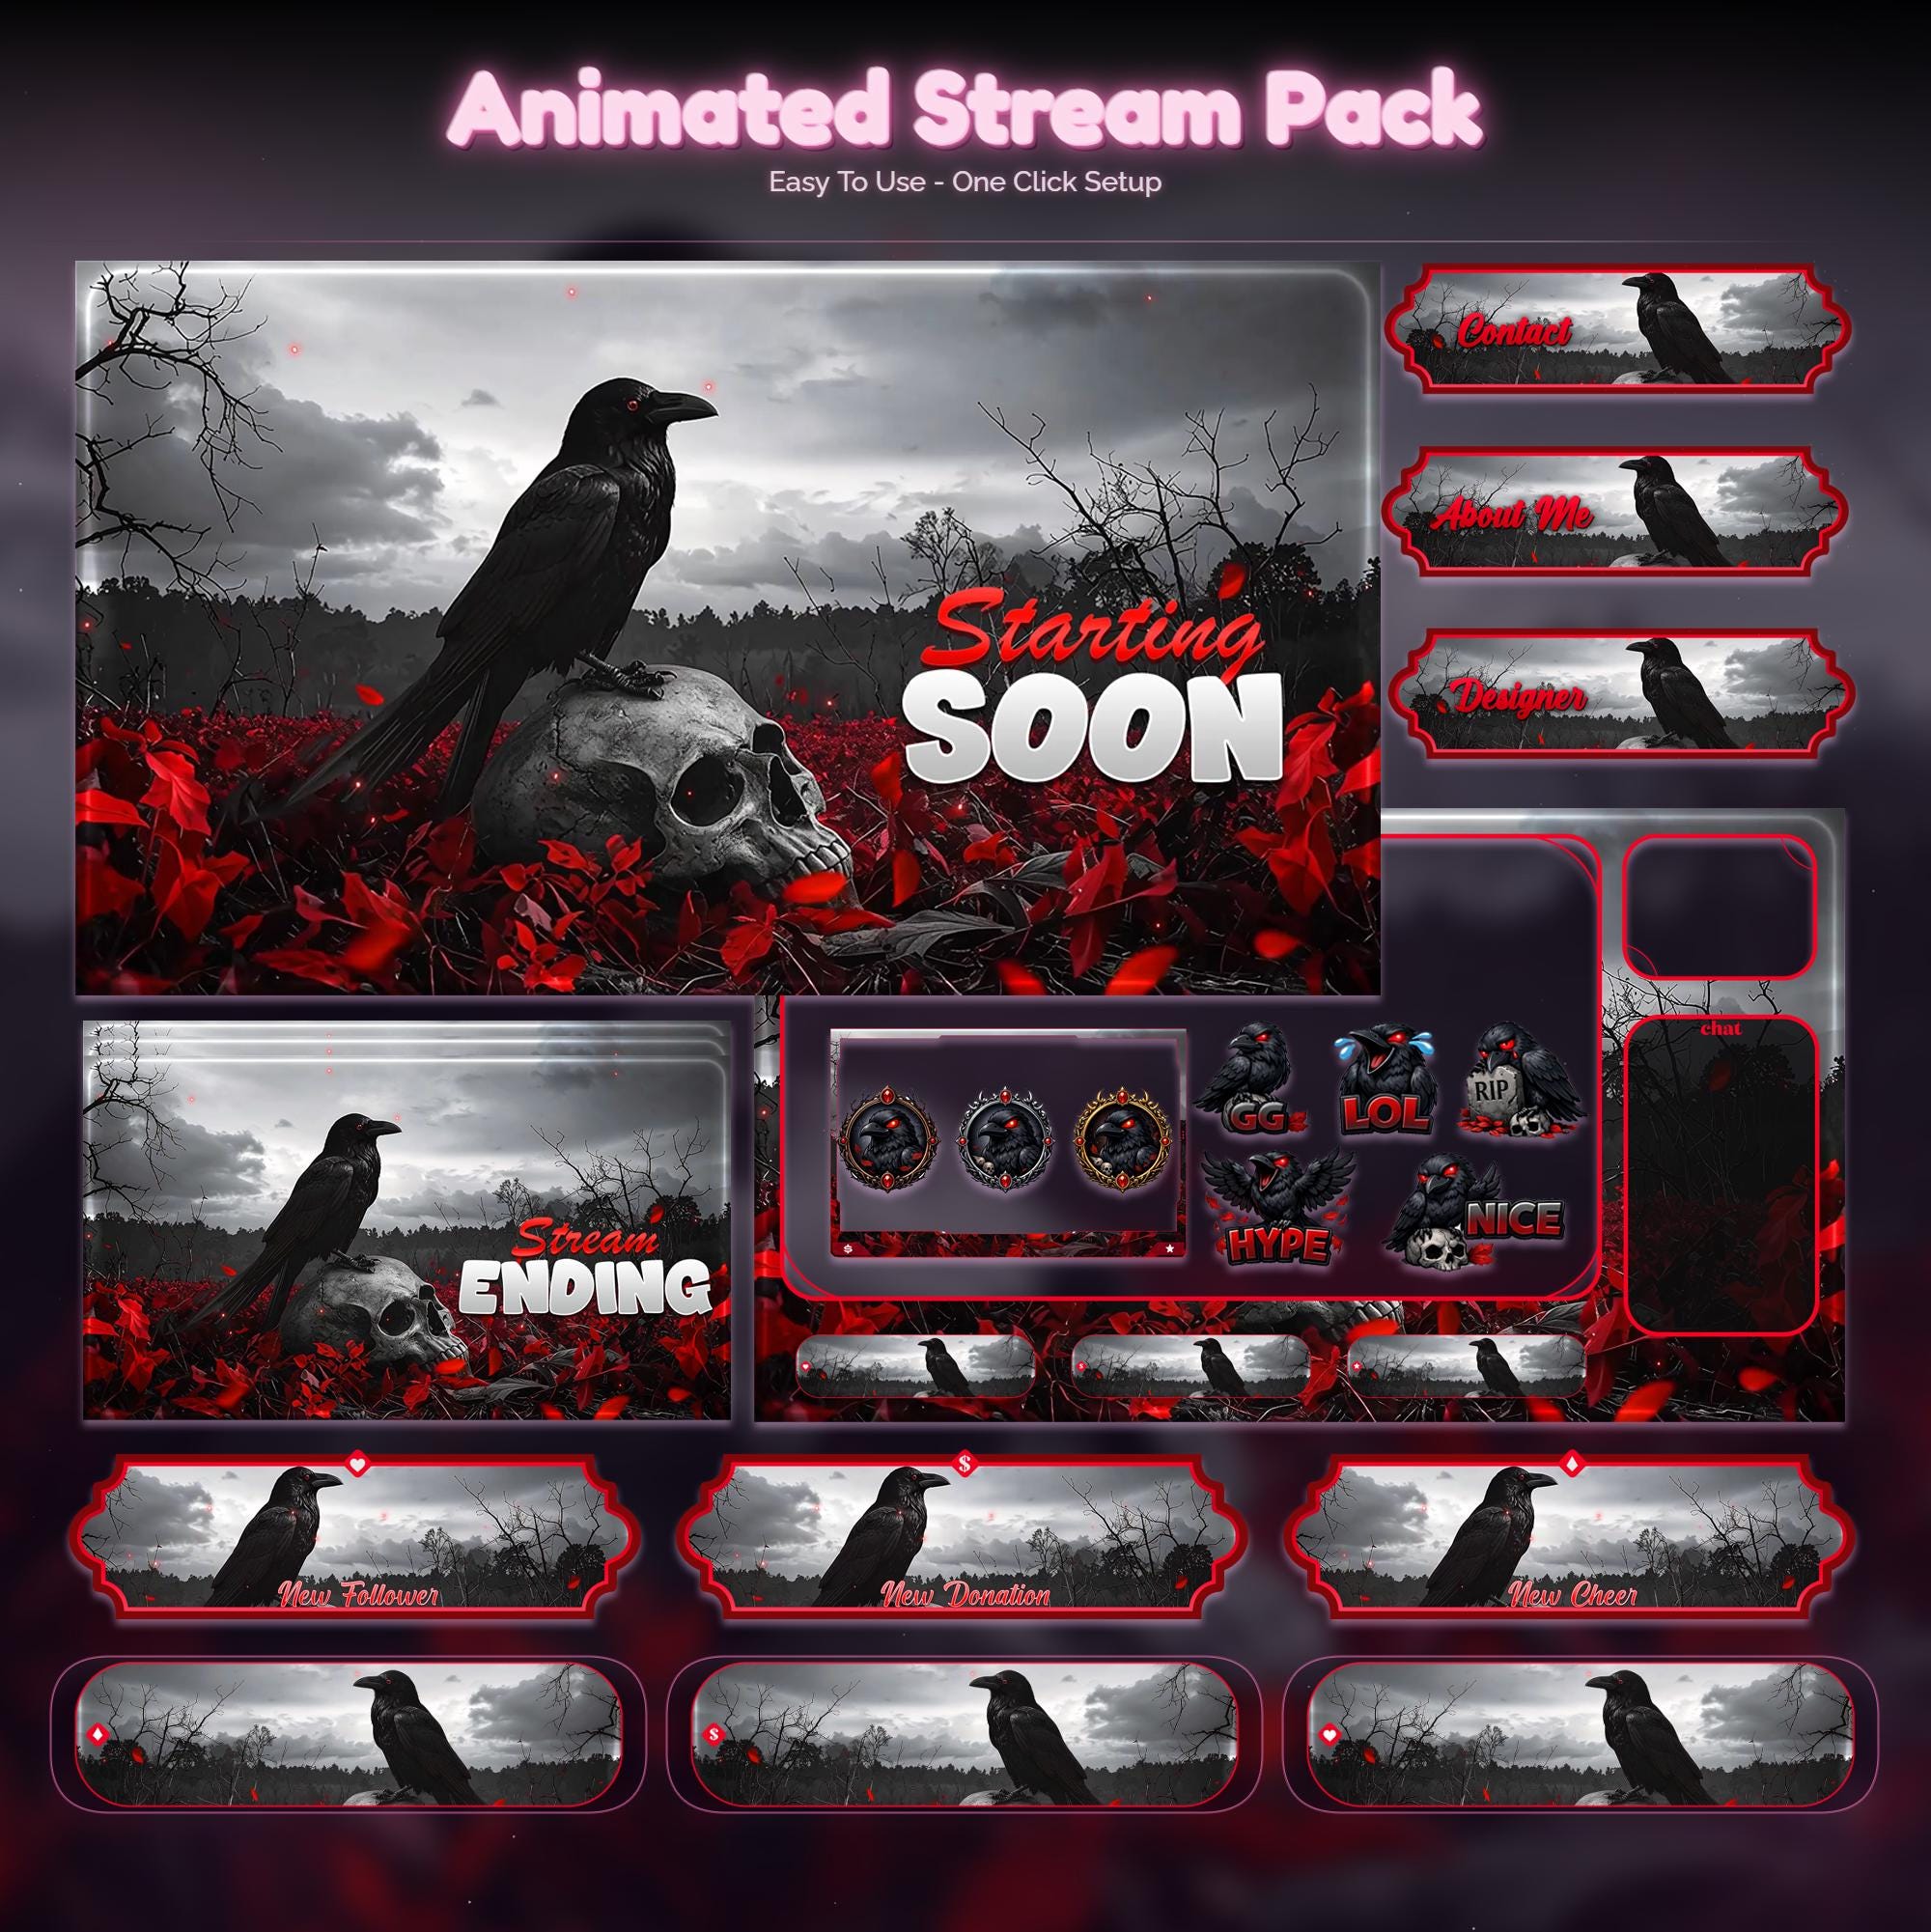
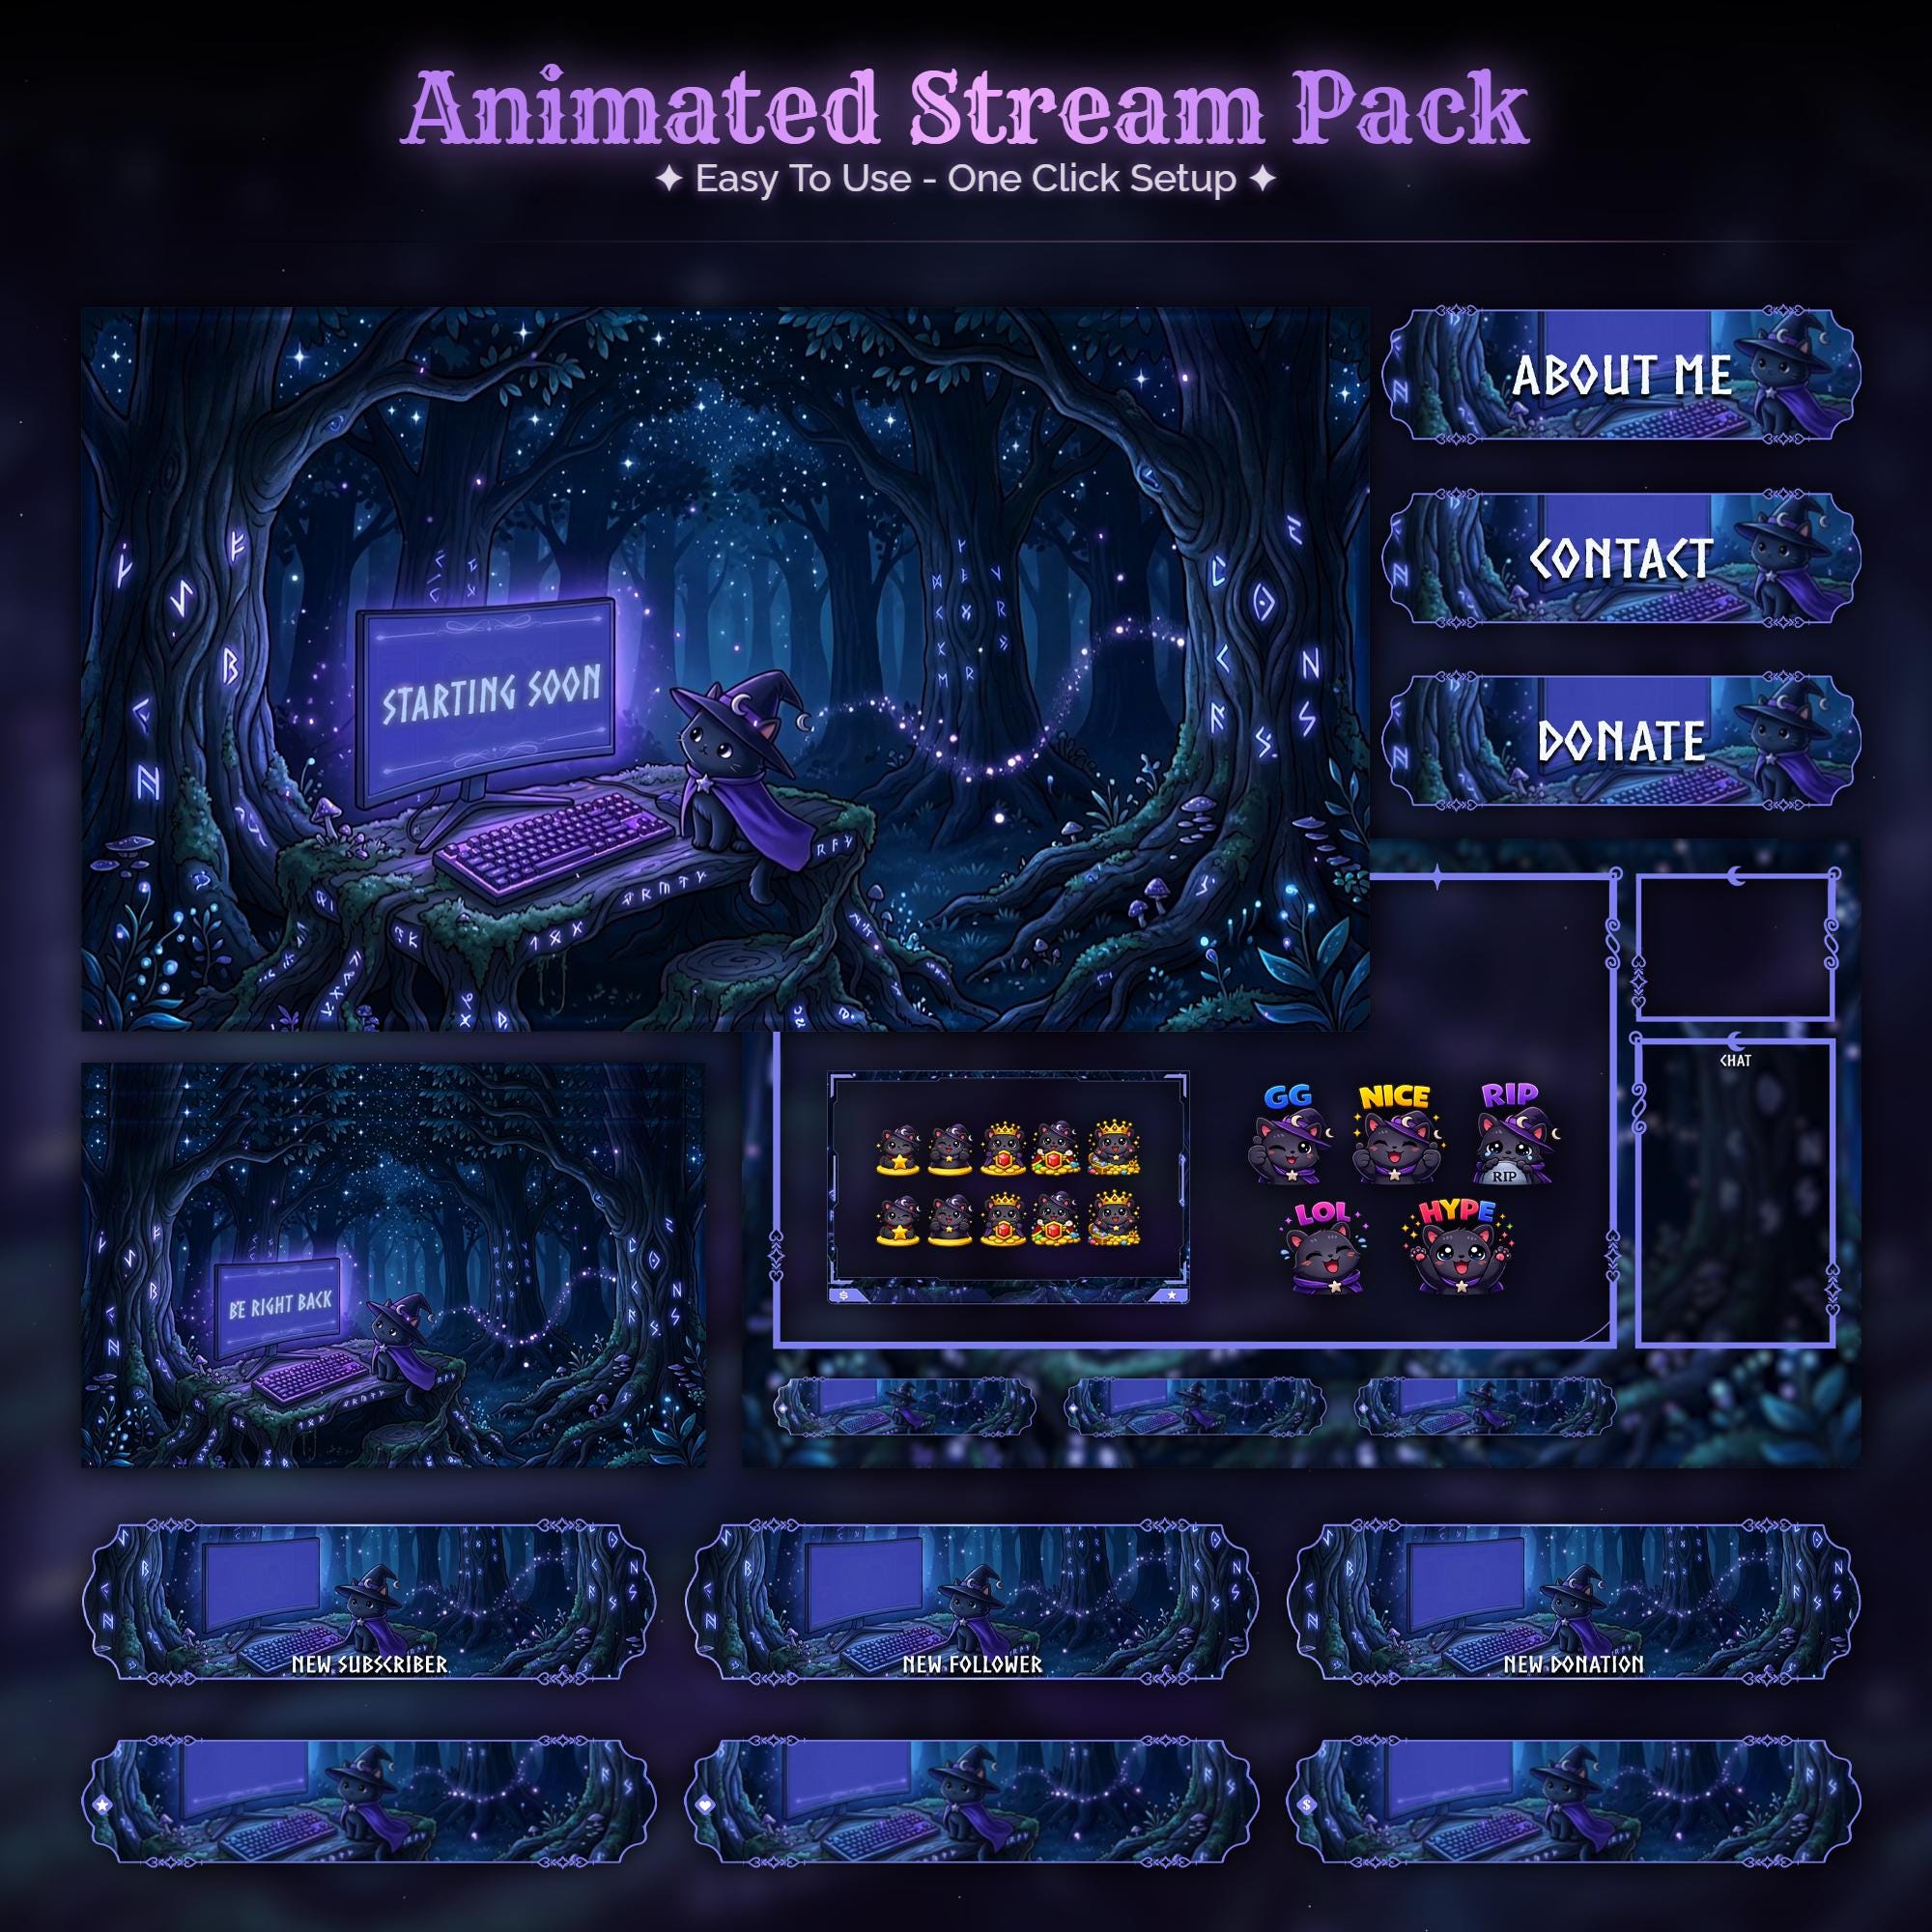
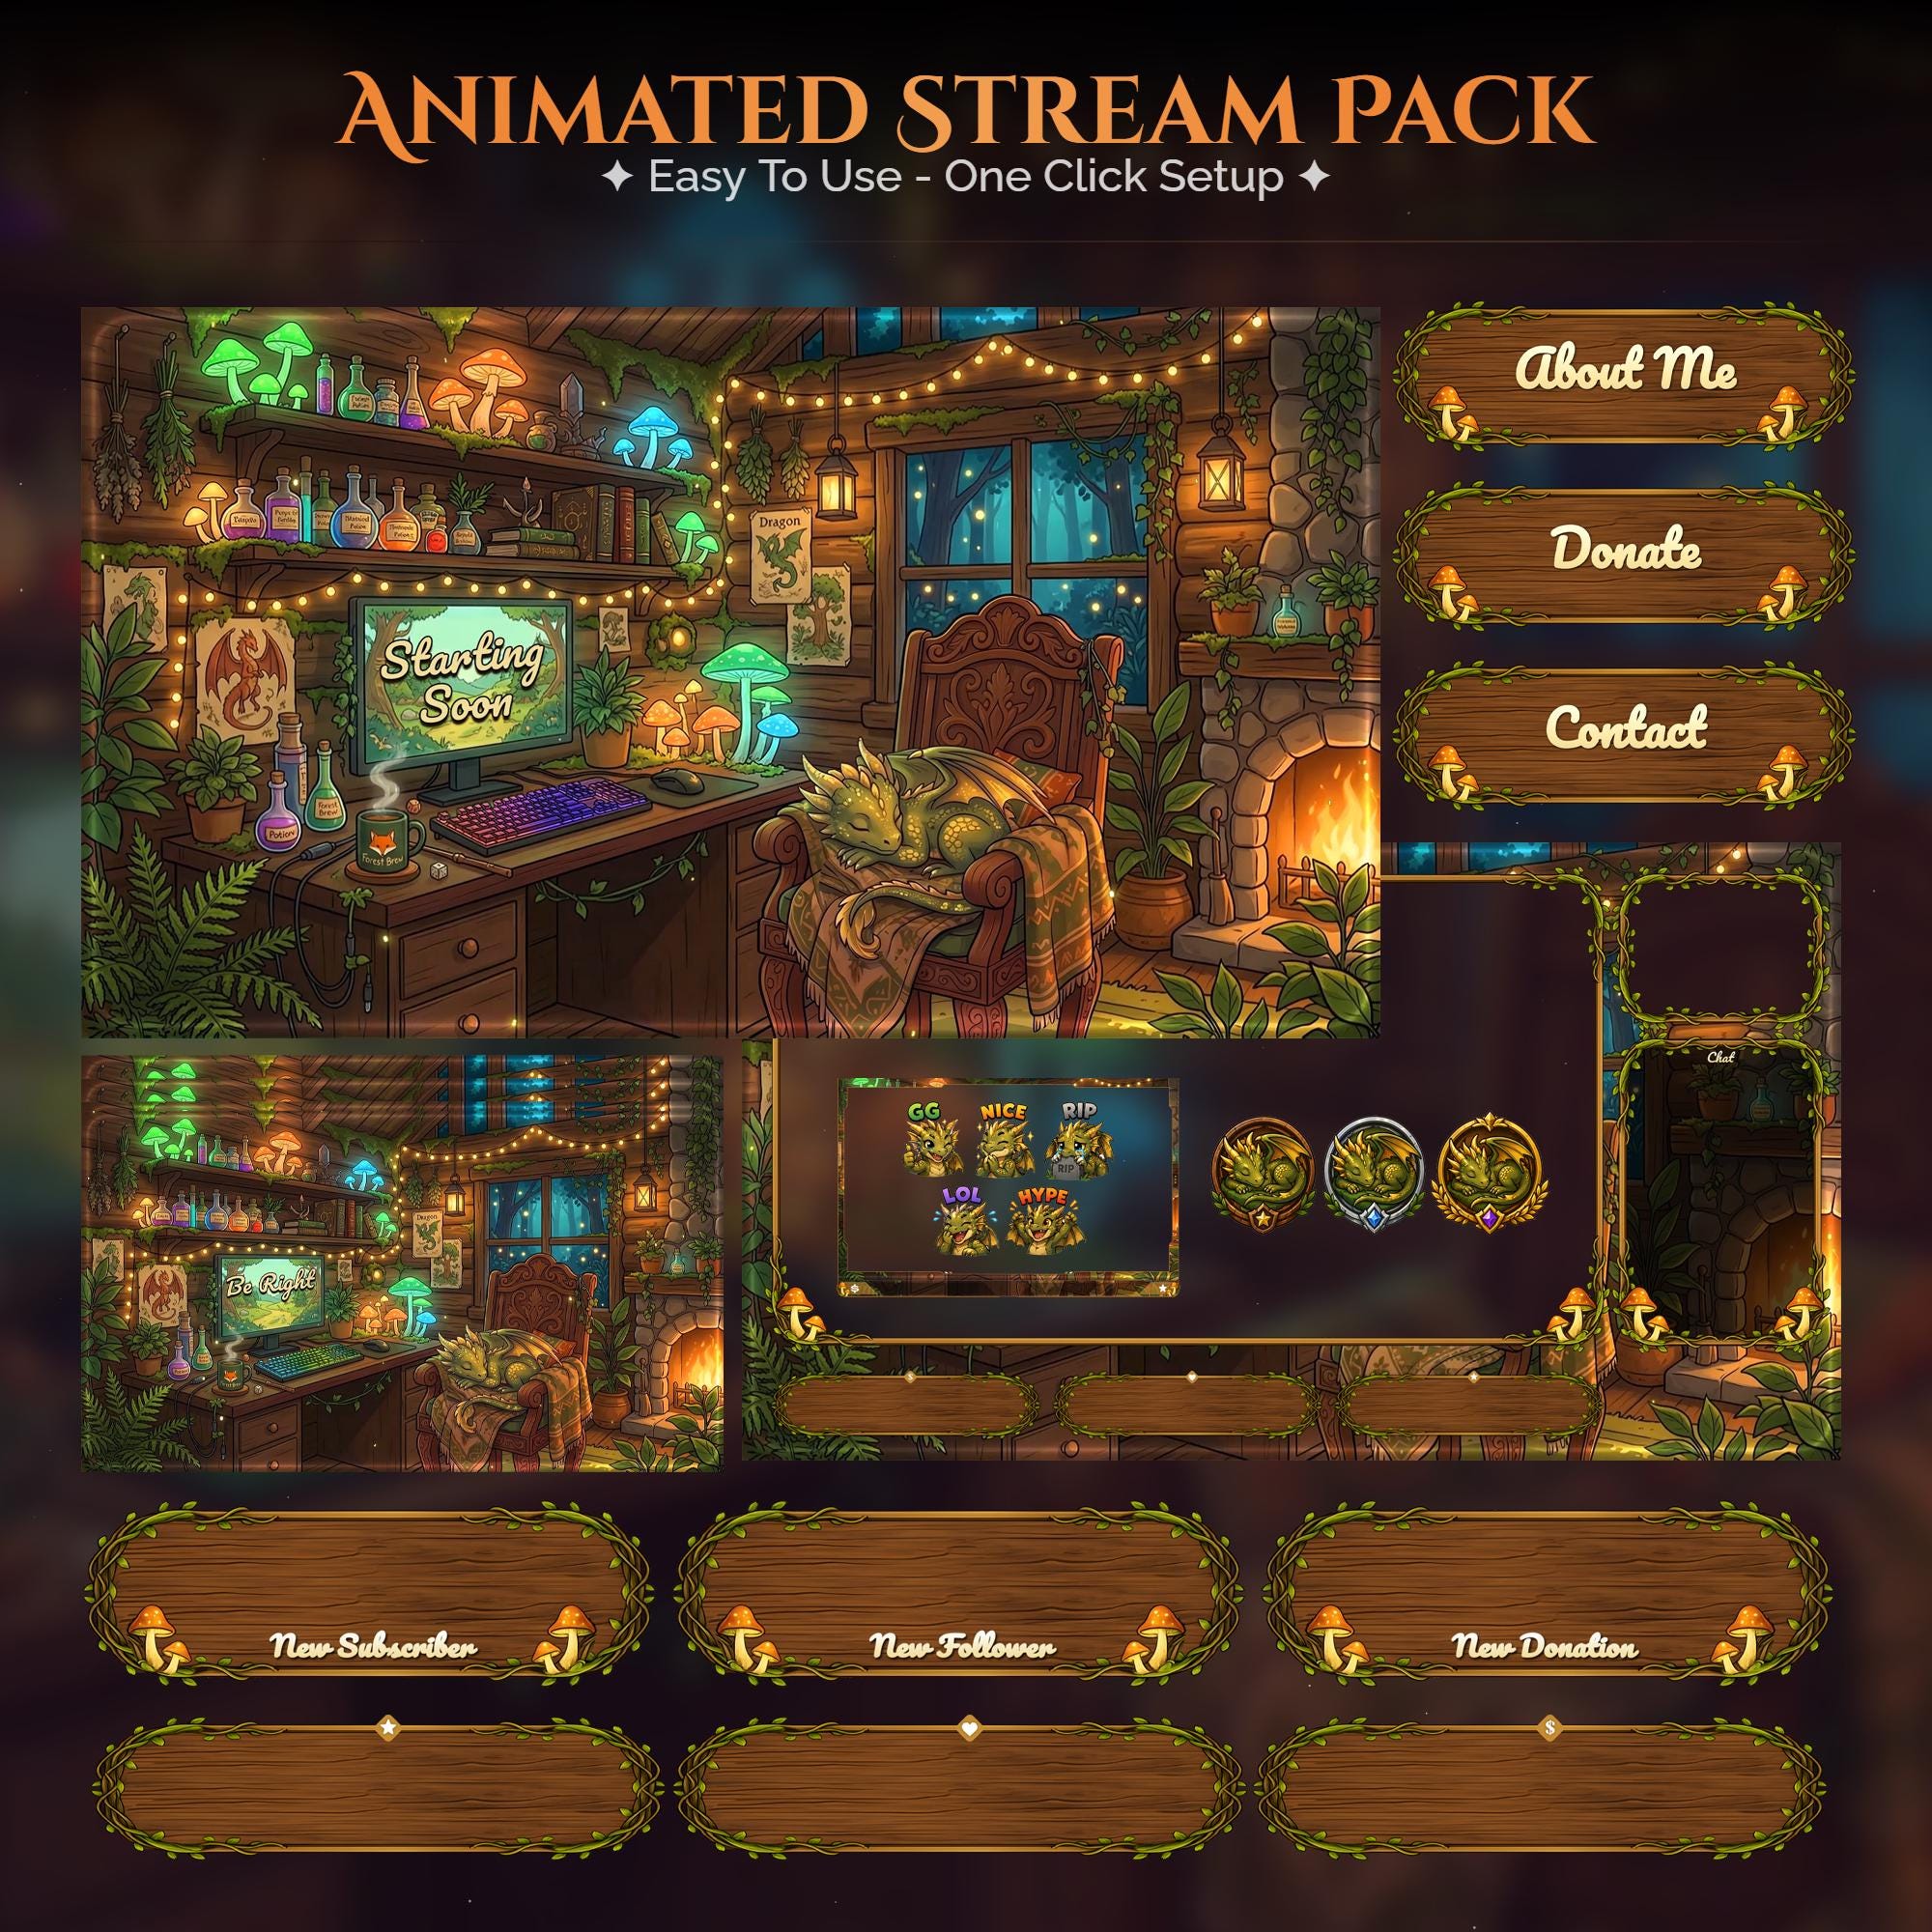
Ready to make your stream feel like a place?
127 animated overlay worlds - real preview videos on every pack, instant download, OBS-ready.